The transactions report for SPAs can be found in the Trading programs area. Wherever you are in the Enable platform, you can navigate to your trading programs area using the below steps:
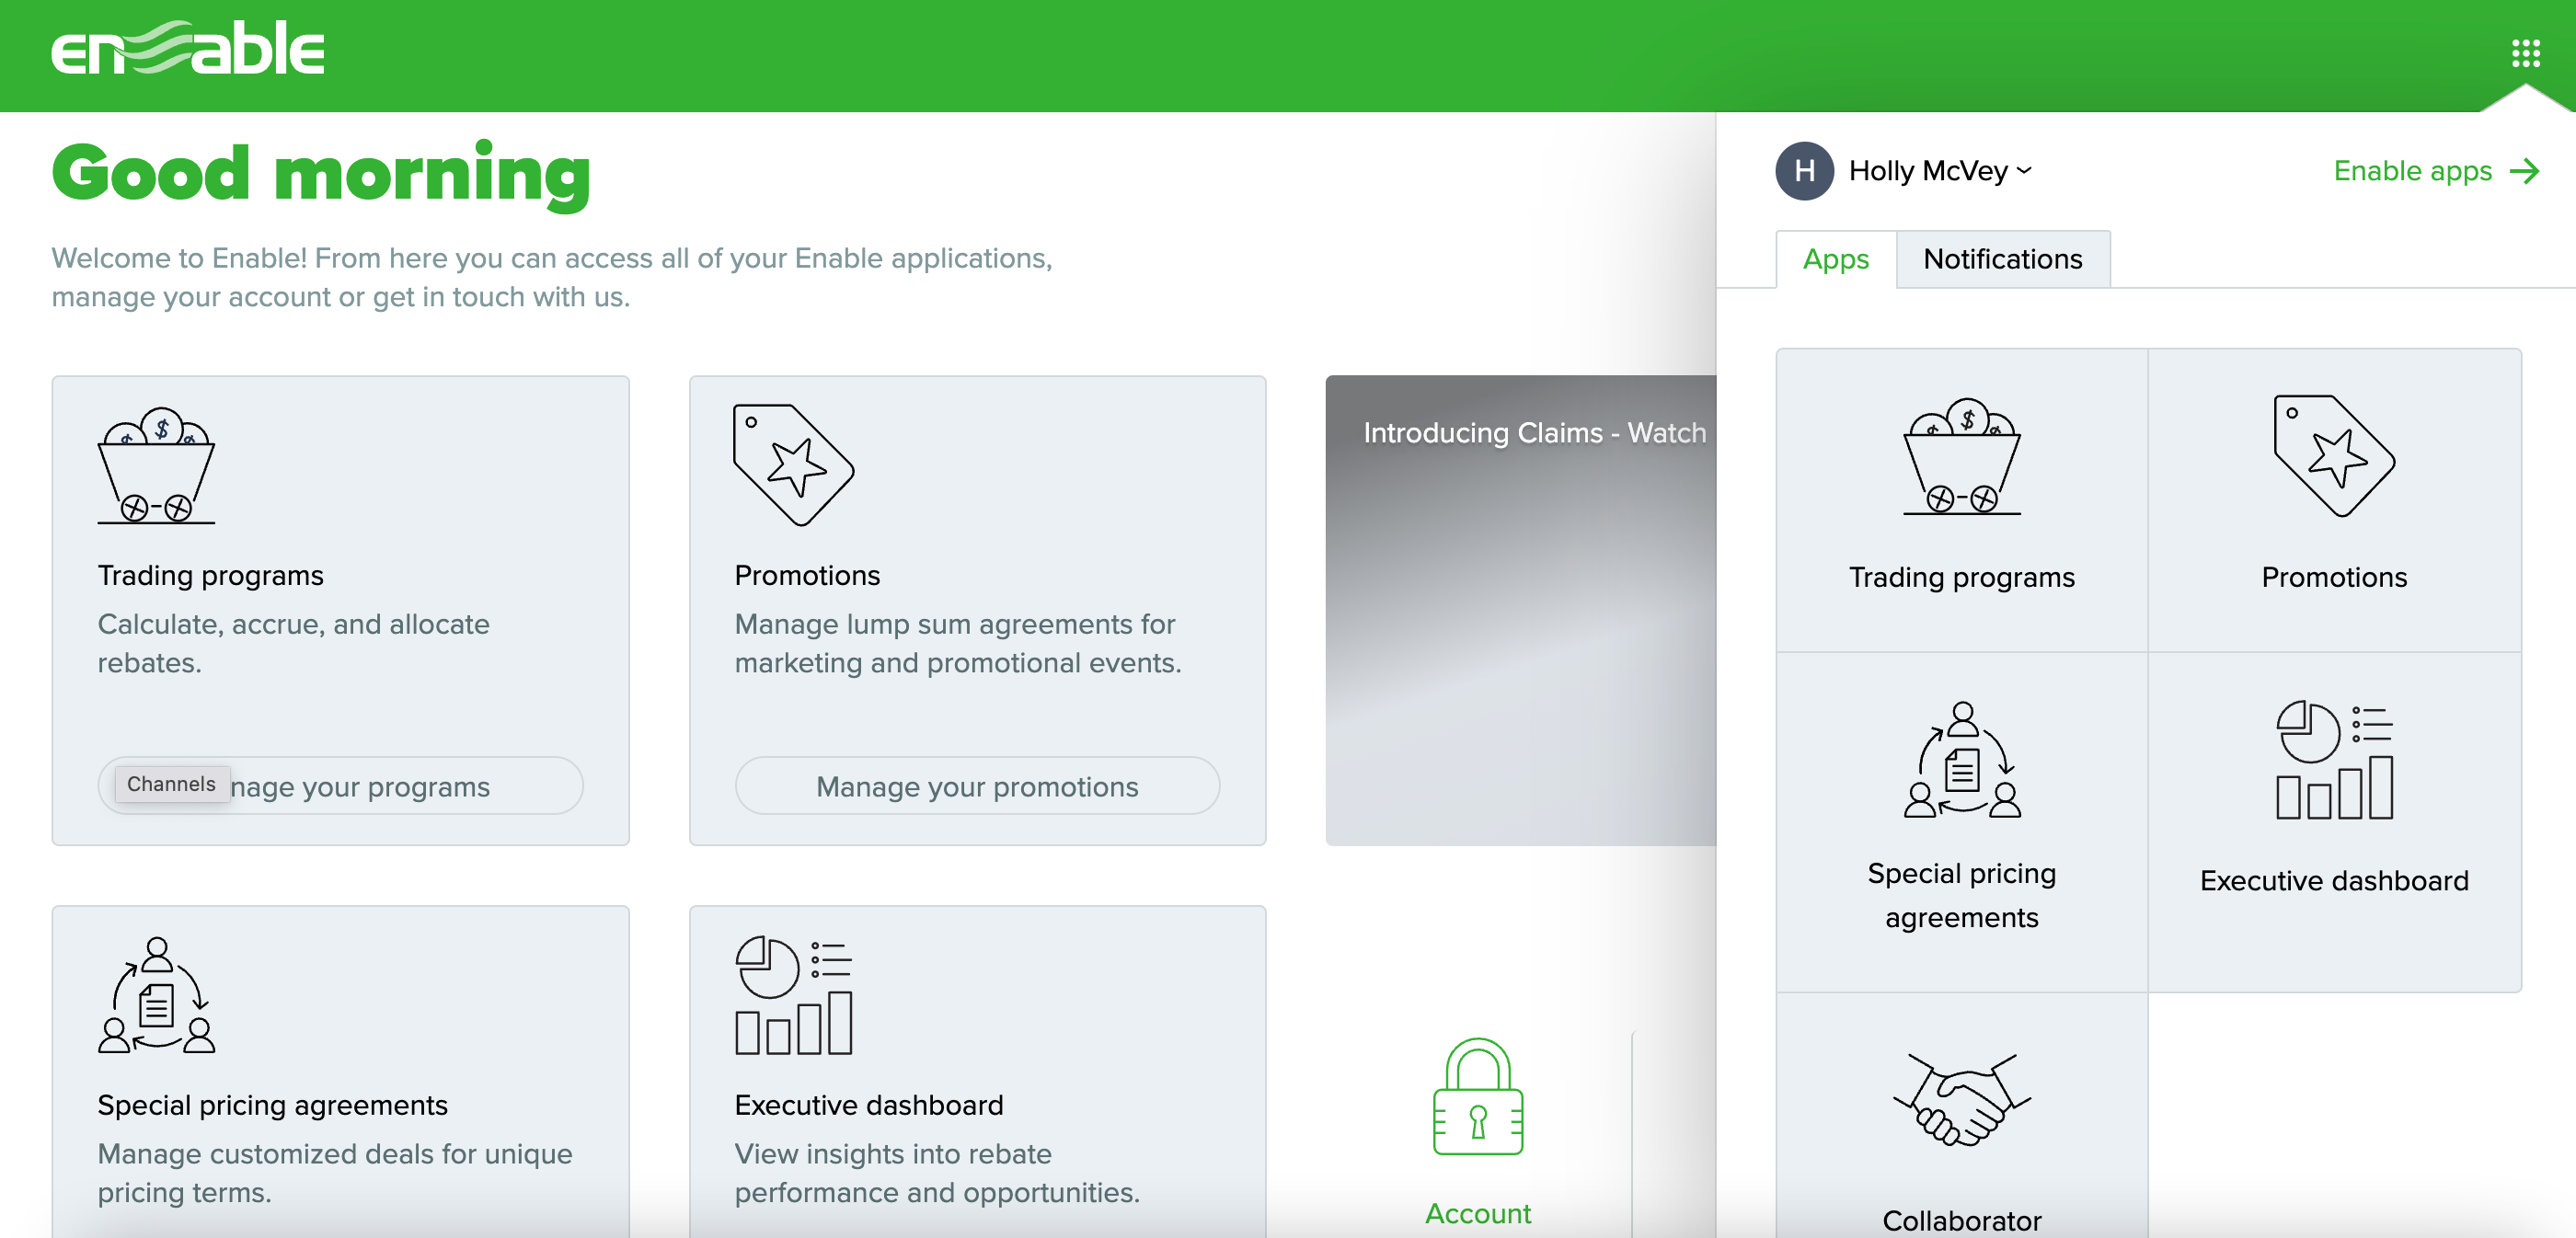
Step 1: Click the hub switcher icon (nine dots) in the top right. This will display the Apps you have access to. You can see an example below.
Step 2: Click on Trading programs.
Using the hub switcher to navigate to the trading programs app
Once in trading programs:
Step 3: Click on Reports in the green banner at the top of the page
Step 4: Click on Transactions in the drop-down menu.
How to use filters in the transaction report
Transaction report filters
Filters on the transaction report can be used to add more context to report results. Filters are all optional except the Customer field. The filters available are:
Customer: Click the hamburger icon to select one or more customers to filter results to only use transactions where the specified end-customer(s) were involved. If left as None, the report results will include all end-customers.
Currency: Click the hamburger icon to select one or more currency, to filter results to only display transactions for a given currency (or currencies). Options to select from are based on currencies configured in your channel.
Transaction period: Click to select a start and end date to only display transactions from a from and to date selection to return transactions for a given date range. The from and to date selection can also be used separately.
Frequency: Select from Daily, Weekly, Monthly, Quarterly, Annual, None, or Full period to set the granularity of the transactions displayed. E.g. selecting None will display by individual transaction line, Monthly will display transactions grouped by each month, and Full period will show the totals across transactions held within the channel’s data.
View by: Click the hamburger icon to set the checkbox for one or multiple dimension items and/or dimension attributes, to increase the granularity of the transactions displayed. Each View by selected will display an additional column (e.g. specific products, product categories, or branches).
Consider manually imported transactions only?: This is rebate-specific functionality, so the checkbox should be left clear for SPAs transactions.
Consider unassigned transactions only?: Set the checkbox to only display transactions that have not accrued any support.
Consider customer-fed transactions only?: Set the checkbox to only display transactions that have been imported via Collaborator users.
External reference: This is rebate-specific functionality, so the checkbox should be left clear for SPAs transactions.
Order reference: Type to filter by an order reference used on the transaction line. Only available if the Frequency is set to None.
Delivery reference: Type to filter by a delivery reference used on the transaction line. Only available if the Frequency is set to None.
Invoice reference: Type to filter by an invoice reference used on the transaction line. Only available if the Frequency is set to None.
Transaction owner: Click the hamburger icon to search and select one or more distributor who owns the transaction. Only available if the Frequency is set to None.
Type: Select Purchases or Sales to only display transactions of that type. Select None to display all transactions.
How to configure dimension filters
Dimension filters can be used to include only specific dimension items (e.g. products) or dimension attributes (e.g. product categories or groups).
To add a dimension filter in the transactions report:
Step 1: Click the hamburger icon for Dimension filters.
Step 2: Click Add and select the dimension you wish to filter on from the drop-down.
Adding a dimension filter
Step 3: (Optional) Select the relevant Collection; this should default to the only collection.
Step 4: (Optional) Click the hamburger icon next to Item to search and select single or multiple dimension items (e.g. product); click Done to save the item selection..
Step 5: (Optional) Click the hamburger icon next to Attribute to set the checkbox for single or multiple grouping items (e.g. product category or group); click Done to save the attribute selection
Step 6: Click Add to create the filtering rule.
Step 7: Click Add to add another dimension filter, or click Done to save the dimension filters.
Click Done to save the dimension filters
When you are ready, click the Preview button at the bottom of the page to view the results of your report.
Alternatively, click the Reset button to change all filters to their defaults.
Viewing the transaction report results
Once you have clicked to Preview results from the filters page, the transaction report will be displayed.
Additional columns within the report can be viewed by scrolling to the right of the report screen, and arrows in the top right will allow you to navigate through the pages of results.
Alternatively, the buttons below the report can be used to:
Download to save and view the results for this report as a CSV file.
Change criteria to navigate back to the transaction report filters to make any amendments before you preview the results again.
Transaction report results
Understanding the transaction report results
By default, the transactions report will display the below columns when a Frequency of Daily is set:
Customer: The name of the customer who has transacted.
Customer reference: The reference of the transacting customer.
Transaction date: Only dates with transactions will be included.
Total transacted units: The total units across all transactions for the given period (day by default).
Total transacted value: The total value transacted for a given day for a given currency.