Products on a special pricing agreement (SPA) allow you to manage which individual products, categories or groups are eligible for support.
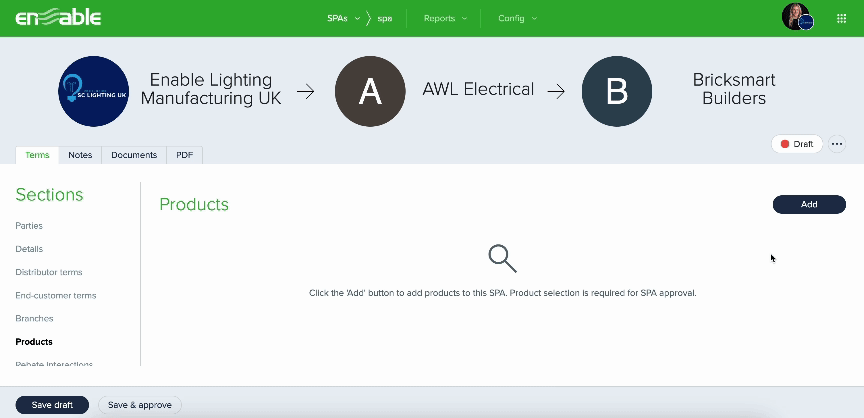
The Products section is accessed within the Terms tab of a SPA.
In the Products section, click on the Add button to show the product selection modal.
The product selection modal allows you to select the products that should be applicable for support on this SPA. Products can be selected by:
Note: Once products are added here (and the contract status is Draft or Ready for approval), the Add button will appear as an Edit button.
The bulk selection mode allows you to select product categories or groups, allowing for a number of products to be automatically included in the agreement.
This will also include any new products which may be added to your channel data mid-agreement, where the products have the same group or category assigned in the channel data.
For bulk selection of products, cross-attribute selections are not supported, i.e. you can only select either Category or Group. To add products by either Category or Group:
Step 1: Select Bulk selection mode on the left (shown below).
Step 2: Select the Category or Group toggle.
Step 3: Search using the product category/group name to filter the results displayed in the table.
Step 4: To select, click on one or more product category/group, then click the OK button.
The Categories or Groups products table will now display in the main Terms tab, with the selected products' references and names automatically populated based on the channel data. See below to learn about the products table and how to input the remaining values.
The individual selection mode allows you to specify individual products to be included in the agreement. To add products individually:
Step 1: Select Individual selection mode on the left (shown below).
Step 2: Search using the product reference or name to filter the results displayed in the table (shown below).
Step 3: To select, click on one or more product, then click the OK button.
The Individual products table will now display in the main Terms tab, with the selected products' references and names automatically populated based on the channel data. See below to learn about the products table and how to input the remaining values.

All products can be added either via the Bulk or Individual product selection modes. Selecting all products may be useful if using the Price Difference support mechanism. To add all products:
Step 1: Select Individual or Bulk selection mode on the left.
Step 2: Set the checkbox above the listed products.
Step 3: Click the OK button.
The products table will now display in the main Terms tab, with the products' references and names automatically populated based on the channel data. See below to learn about the products table and how to input the remaining values.
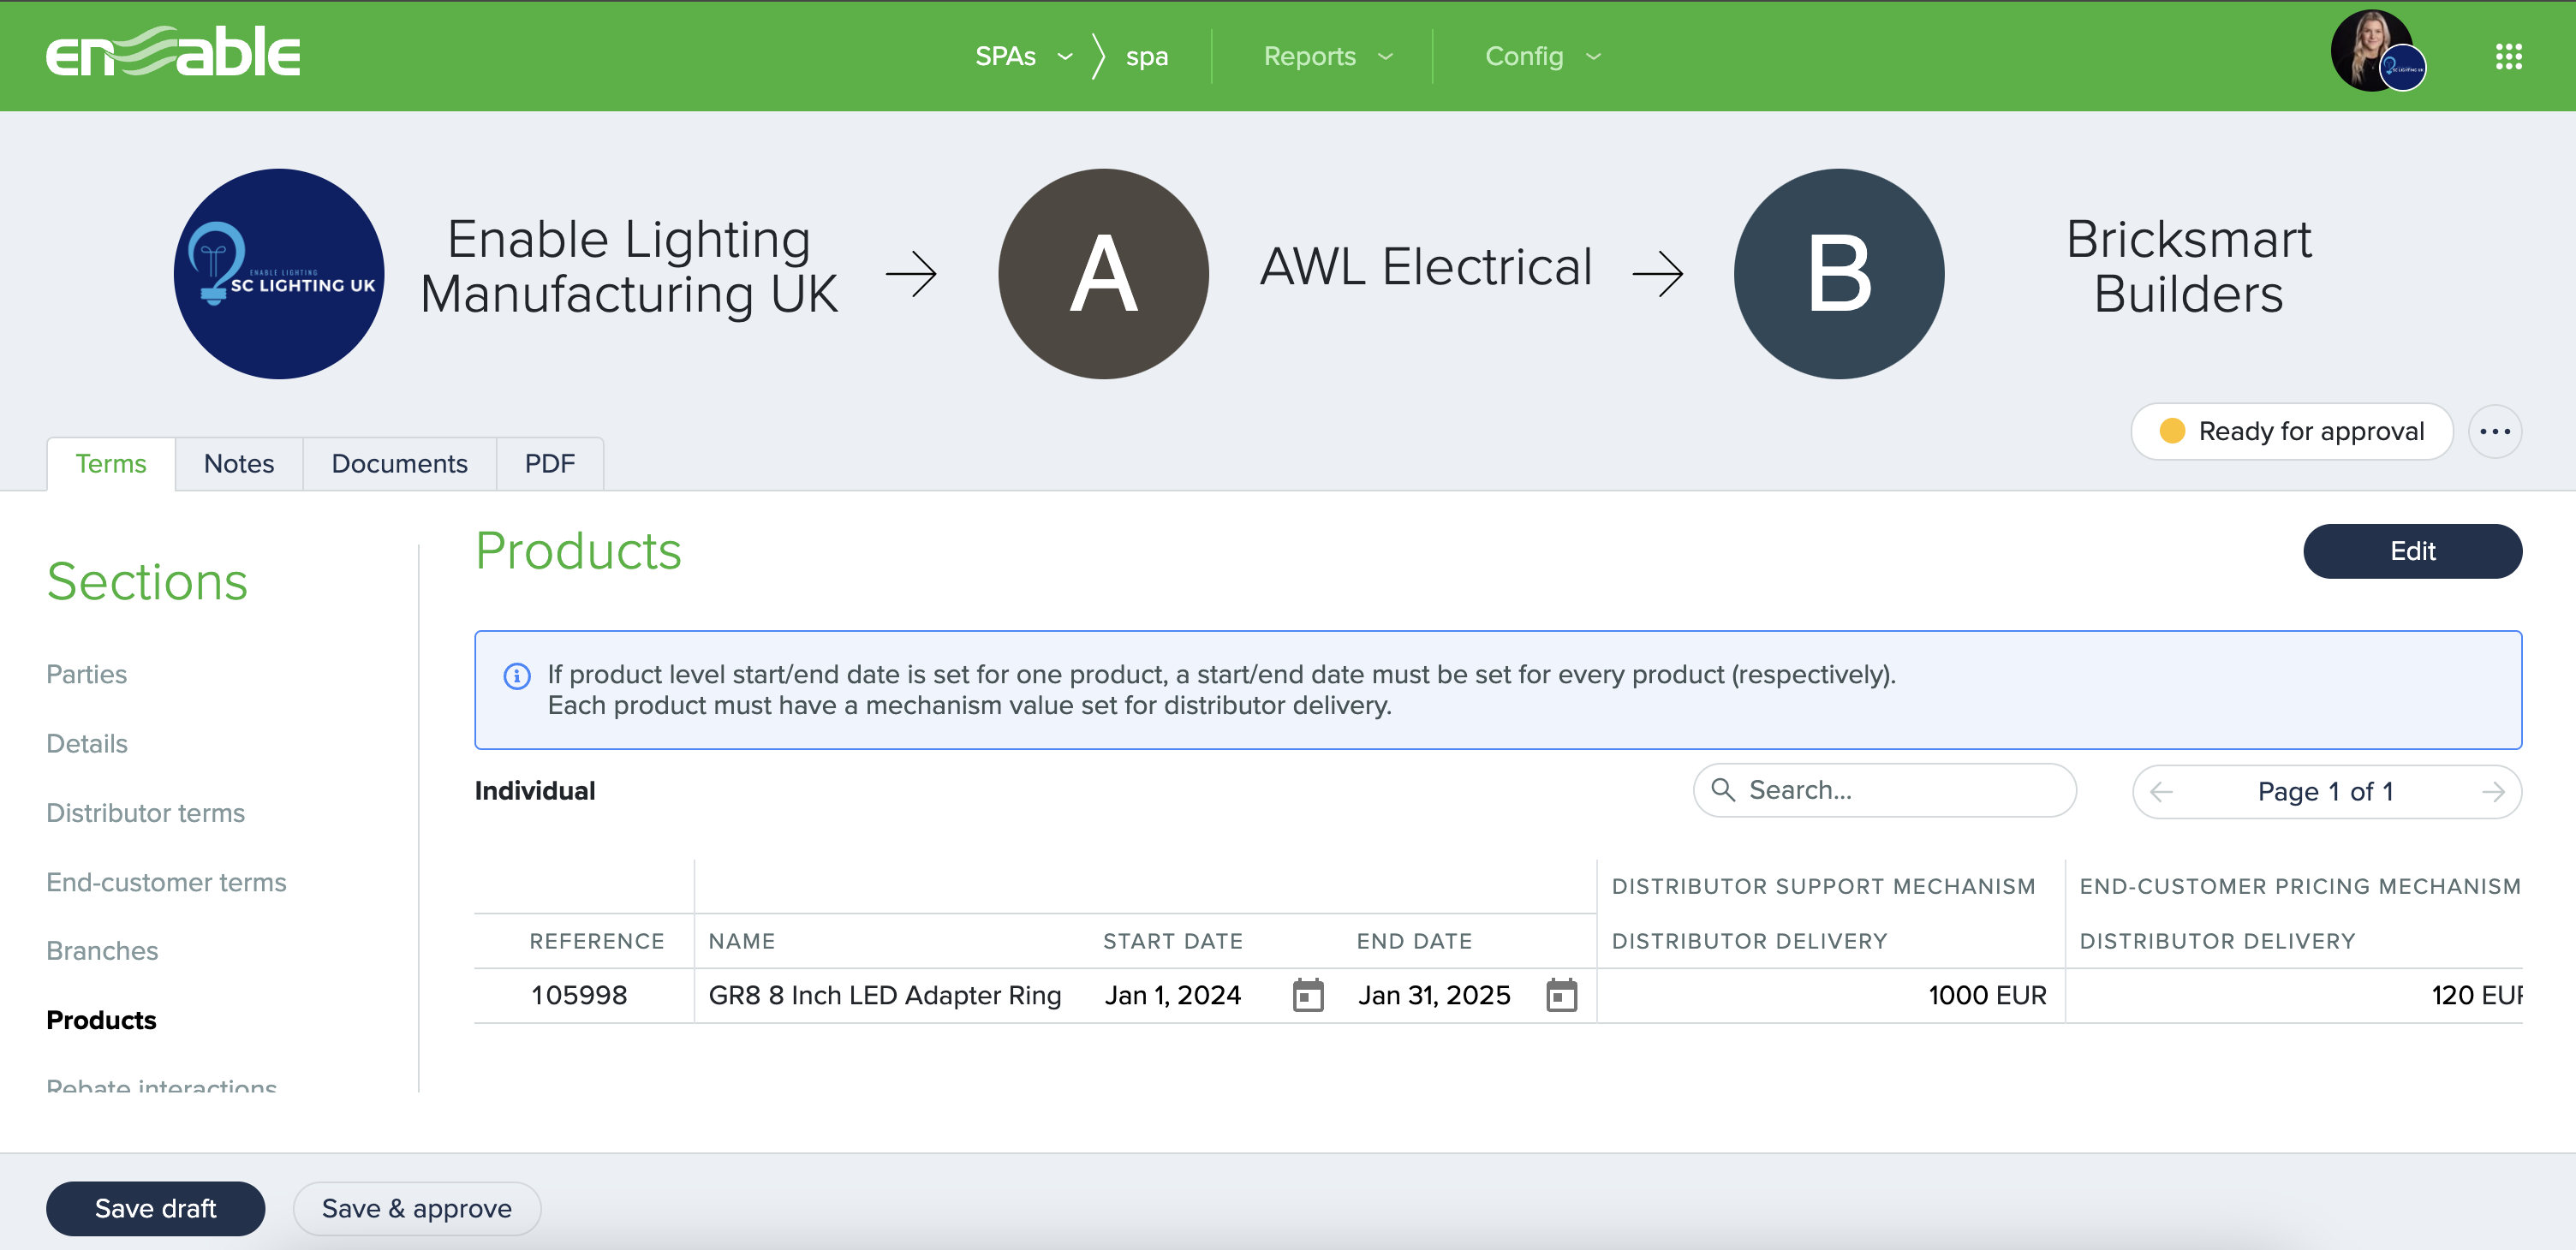
Now that products have been added, you will need to input additional details where required into the Products table. The table shows:
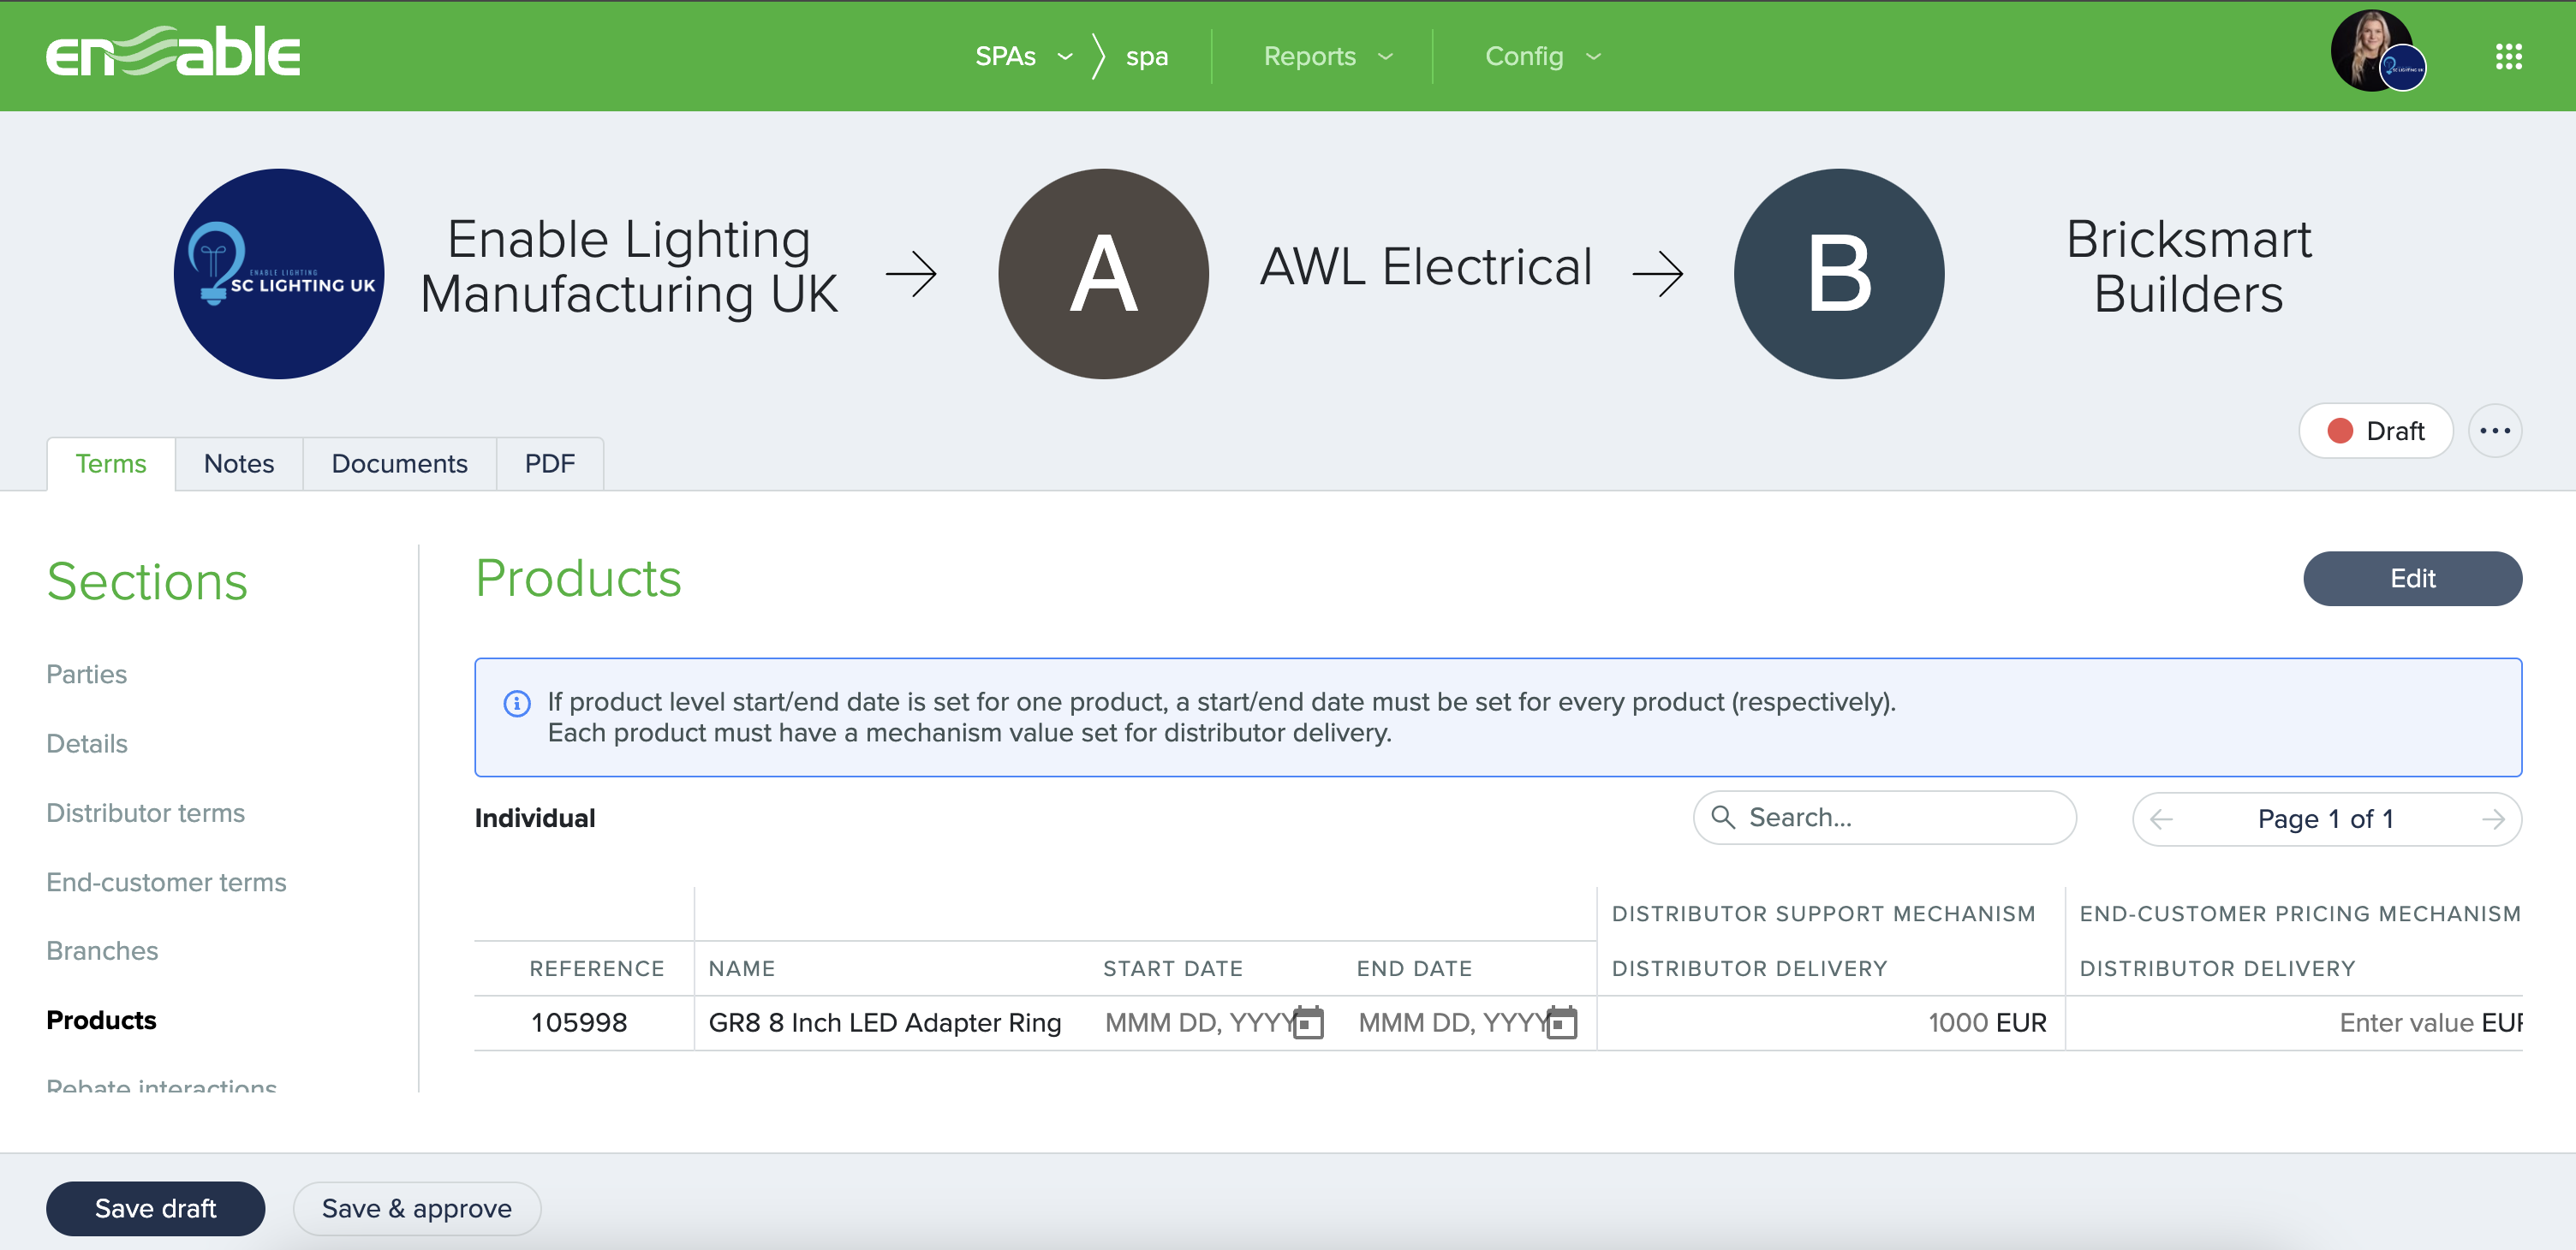
To input the details in the Products table, follow the below steps:
Step 1: Identify the row to edit. Editing values can be done for an entire product category, entire product group, or individual product level.
Step 2: Click the value on the row you wish to adjust and type the new value in.
Step 3: Click anywhere outside of the cell you edited to automatically save your adjustment.
Step 4: Review your edits. It is recommended that you check the effect edits to product categories or groups have had across the indirectly selected products.
Once you are happy that the Products section in the Terms tab has been populated, Save draft and navigate to the Rebate interactions section if you wish to reduce support by rebate.
Otherwise, if you are happy that all sections in the Terms tab have been populated, Save draft and navigate to the Notes tab.